Embarking on your creative journey can feel both exciting and slightly intimidating. Whether you are an entrepreneur looking to whip up quick social media graphics, a student drafting a presentation, or a creative hobbyist wanting to bring your ideas to life, the thought of opening a blank design canvas can trigger a mild wave of panic. What colors go together? What font looks professional? How do I keep things from looking cluttered?
Fortunately, the digital design landscape has shifted dramatically over the years. You no longer need to spend months mastering complex, professional-grade software or wrestling with layered vector paths just to put together a clean poster or a polished Instagram post. Platforms like Canva have democratized visual communication, transforming a once-exclusive skill into an intuitive, accessible experience for everyone.
This comprehensive, step-by-step walkthrough is designed to take you by the hand and guide you through creating your very first Canva design from scratch. We will cover everything from picking the right template and navigating the interface to editing text, swapping out imagery, and finally exporting your masterpiece for the world to see.
Table of Contents
- Introduction to the Canva Ecosystem
- Phase 1: Getting Oriented and Choosing Your Template
- Phase 2: Anatomy of the Canva Editor
- Phase 3: Crafting and Editing Your Text
- Phase 4: Working with Images, Media, and Elements
- Phase 5: Layout Adjustments and Core Design Principles
- Phase 6: Exporting, Downloading, and Sharing Your Work
- Conclusion: Your Creative Future Starts Here
1. Introduction to the Canva Ecosystem
Before we dive straight into clicking buttons, it helps to understand what Canva is and why it has become an essential tool for millions of creators worldwide. At its core, Canva is a web-based and mobile-friendly graphic design platform that relies on a drag-and-drop mechanism.
In the past, creating a flyer meant choosing dimensions, setting up bleed lines, manually importing fonts, and arranging shapes pixel by pixel. Canva streamlines this entire pipeline by bundling pre-sized canvases, professionally designed templates, stock libraries, and powerful smart tools into one unified browser tab.
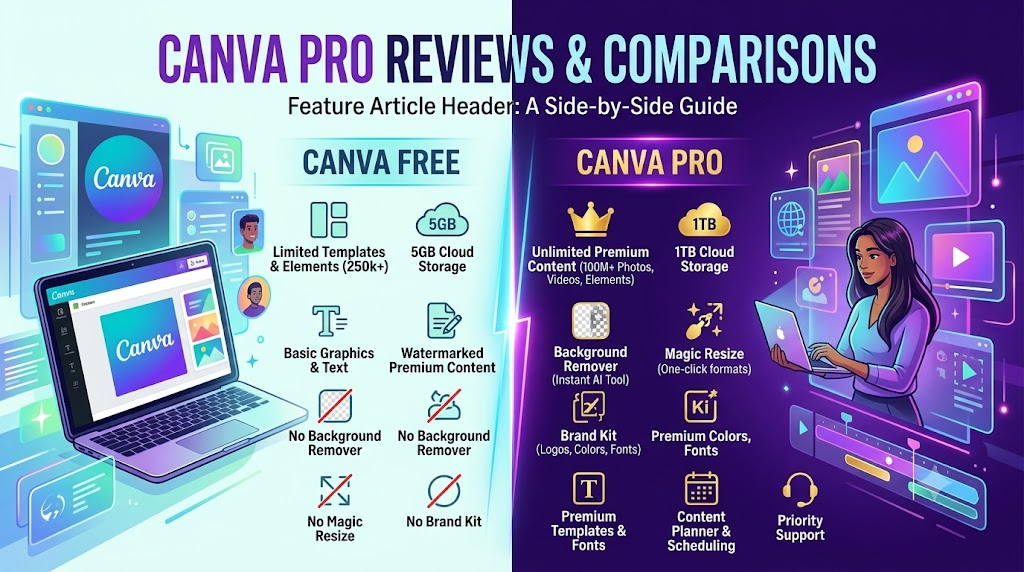
When you log into Canva, you aren’t just looking at a blank page; you are entering a massive collaborative workspace. Whether you use the Free tier—which is astonishingly robust and packed with hundreds of thousands of free templates and graphics—or you opt for a paid upgrade later on, the core principles of creating your first design remain identical.
2. Phase 1: Getting Oriented and Choosing Your Template
Every great design project starts with a single click on the home screen. When you open Canva, your primary goal is to determine what you are making and what dimensions it requires.
Step 1: Navigating the Home Dashboard
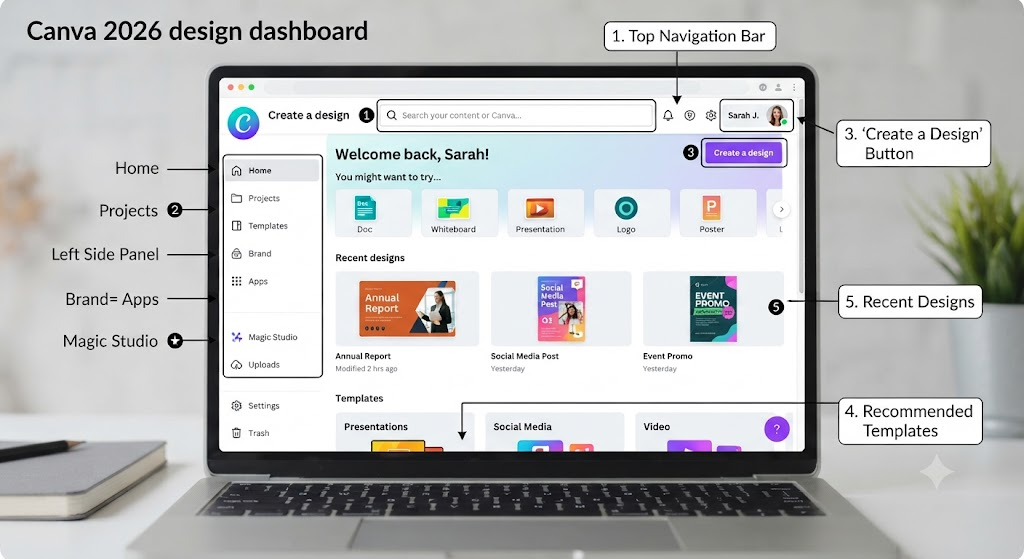
Take a moment to look at your dashboard. At the very top, you will see a prominent search bar. This is your command center. Instead of digging through menus, you can type your exact goal right into it—for instance, “minimalist wedding invitation,” “fitness YouTube thumbnail,” or “corporate quarterly report.”
Step 2: Selecting Your Canvas Size
If you prefer browsing by category, click the Create a design button in the top right corner. A drop-down menu will appear displaying popular options:
- Instagram Post (Square or Portrait): Optimized for social feeds.
- Presentation: Sized precisely for widescreen displays (16:9 ratio).
- Doc: Great for text-heavy, collaborative layouts.
- Flyer / Poster: Formatted for high-resolution printing.
Choosing the right preset saves you from the headache of manually resizing elements later. Once you click your format, a new browser tab will open, presenting you with your fresh workspace.
Step 3: Finding and Applying a Template
For your very first design, starting with a blank canvas can lead to staring blankly at a white rectangle. Instead, leverage Canva’s template library.
- Look at the left sidebar inside the editor; ensure you are on the Design tab.
- Use the search bar within that panel to narrow down styles (e.g., type “modern real estate” or “playful birthday”).
- Click on a template that catches your eye. It will instantly populate onto your canvas.
Think of a template not as a rigid final product, but as a scaffold. Every single color, text box, image, and graphic inside that template is fully customizable.
3. Phase 2: Anatomy of the Canva Editor
Now that your template is loaded on screen, let’s break down the interface so you know where everything lives. The editor is divided into three main zones:
- The Top Menu Bar: Here you will find options to rename your file, access version history, toggle the resize tool, and locate the vital Share button on the far right.
- The Left Sidebar (Your Toolbox): This is where you pull ingredients into your design.
- Design: Templates and layout suggestions.
- Elements: Shapes, graphics, stock photos, stickers, audio, video clips, charts, and grids.
- Text: Headings, subheadings, body text blocks, and font pair combinations.
- Brand Hub: Your saved logos, brand colors, and custom fonts (great for consistency).
- Uploads: Your personal media hub where you can drag and drop images or videos from your computer.
- Draw: Digital brushes and highlighters for freehand additions.
- The Canvas (Center Stage): Your active workspace. When you click any object on the canvas, a floating toolbar appears directly above it, offering quick adjustments tailored to that specific object (like color pickers, crop tools, or alignment buttons).
4. Phase 3: Crafting and Editing Your Text
Text is often the primary vehicle for your message. Whether you are writing a catchy headline or detailing event times, getting text right is crucial.
Editing Existing Text
- Click directly onto any text box in your template.
- Highlight the placeholder words and type your own copy.
Customizing Typography and Styling
Once a text box is selected, look at the floating toolbar at the top of the canvas:
- Font Family: Click the dropdown menu to browse hundreds of typefaces. Beginner Tip: Avoid using more than two different font families in a single design. Stick to one bold header font and one clean, readable body font.
- Font Size and Color: Use the plus/minus buttons or type a number directly into the size box. Click the colored letter icon (A) to change text color. If your template features an image, Canva will automatically suggest “Photo Colors” in the color palette picker, ensuring your text harmonizes with your background imagery.
- Effects: Click the Effects button to add shadows, hollow outlines, neon glows, or curved text arches. Use these sparingly—subtlety often looks much more professional than heavy-handed styling.
- Spacing: Click the spacing icon (three lines with arrows) to adjust letter spacing (tracking) and line spacing (leading). Opening up your letters just a tiny bit can instantly elevate a basic headline into something that looks custom-designed.
5. Phase 4: Working with Images, Media, and Elements
Visuals breathe life into your layouts. Learning how to swap and manipulate graphics is what turns a generic template into a personalized creation.
Swapping Backgrounds and Photos
Templates come with placeholder images, but you will want to use your own or source better ones from Canva’s library.
- Go to the Uploads tab to bring in your own photos, or click Elements and search for stock imagery.
- Drag your chosen image directly over an existing photo on the template. Notice how it snaps into place? That’s because templates often use Frames or Grids that automatically crop images to fit precise geometric shapes.
Utilizing Frames and Elements
If you want to place a photo inside a custom shape (like a circle, a torn paper edge, or a phone mockup):
- Go to Elements, scroll down to Frames, and select one.
- Drag any photo from your uploads or stock library and hover it over the frame. It will instantly snap inside, conforming to the shape. Double-clicking the frame allows you to pan and crop the image precisely how you want it.
6. Phase 5: Layout Adjustments and Core Design Principles
Even with great templates and text, knowing a few fundamental rules of design will ensure your first project looks clean, balanced, and intentional.
1. Master the Power of Whitespace
Beginners often make the mistake of filling every empty square inch of the canvas. Whitespace (or negative space) is the empty area around and between your design elements. Leaving breathing room around your text and graphics allows the viewer’s eye to rest and immediately grasp what matters most.
2. Establish a Clear Visual Hierarchy
When someone looks at your design, what should they read first? Second? Third?
- The Hook (Headline): Make it the largest, boldest element on the page.
- The Details (Subheadline/Body): Scale this down so it supports the main headline without competing with it.
- The Call to Action (CTA): Position things like “Sign Up Today,” “Link in Bio,” or “RSVP Now” where they naturally catch the eye last.
3. Maintain High Contrast
Never sacrifice legibility for aesthetics. If you place dark gray text over a dark navy background, nobody will be able to read it. Always ensure strong contrast—dark text on light backgrounds, or light text on dark backgrounds.
7. Phase 6: Exporting, Downloading, and Sharing Your Work
You’ve tweaked your text, swapped your images, and fine-tuned your layout. Now it’s time to share your creation with the world.
Step 1: Review and Rename
Look at the top left corner of the editor where your project title is displayed. Click it and give your design a clear, descriptive name (e.g., Summer_Sale_Flyer_Final). This makes it much easier to find later in your Canva projects folder.
Step 2: Open the Share Menu
Click the purple Share button in the top right corner. A drop-down panel will appear with various collaboration and download options.
Step 3: Choose Your File Format
Click Download, where Canva will recommend a file type based on your design format:
- PNG: The gold standard for digital graphics, social media posts, and images with transparent backgrounds. It offers crisp, high-quality rendering.
- JPG: A smaller file size option, great for web sharing where loading speed matters.
- PDF Standard / PDF Print: Essential for multi-page documents, resumes, ebooks, or files intended for physical printing. (Choose PDF Print with crop marks if you are sending a file off to a professional print shop).
- MP4 Video or GIF: Perfect if your design includes animated text, moving graphics, or video backgrounds.
Step 4: Hit Download
Select your desired pages (if you are working on a multi-slide presentation), click Download, and watch your creation save directly to your device’s downloads folder.
8. Conclusion: Your Creative Future Starts Here
Creating your first design doesn’t have to be an overwhelming ordeal. By starting with a flexible template, systematically working through your text and imagery, and applying a few foundational rules like whitespace and visual hierarchy, you can produce stunning work on your very first try.
Design is a skill built through iteration and experimentation. Don’t be afraid to click around, test out wild color combinations, and explore Canva’s vast ecosystem of tools. Fire up your dashboard today, open up a blank canvas or a fresh template, and let your creativity take flight!
 Pinterest stands out as a powerful search engine where people find ideas, inspiration, and solutions. I’ve found that one strong Pin has the potential to keep sending traffic long after it’s been posted, which really separates Pinterest from platforms where posts disappear quickly. If you’re trying to grow your blog, share your business, or promote your products, learning how to make Pins that grab attention and get clicks is a solid skill that pays off.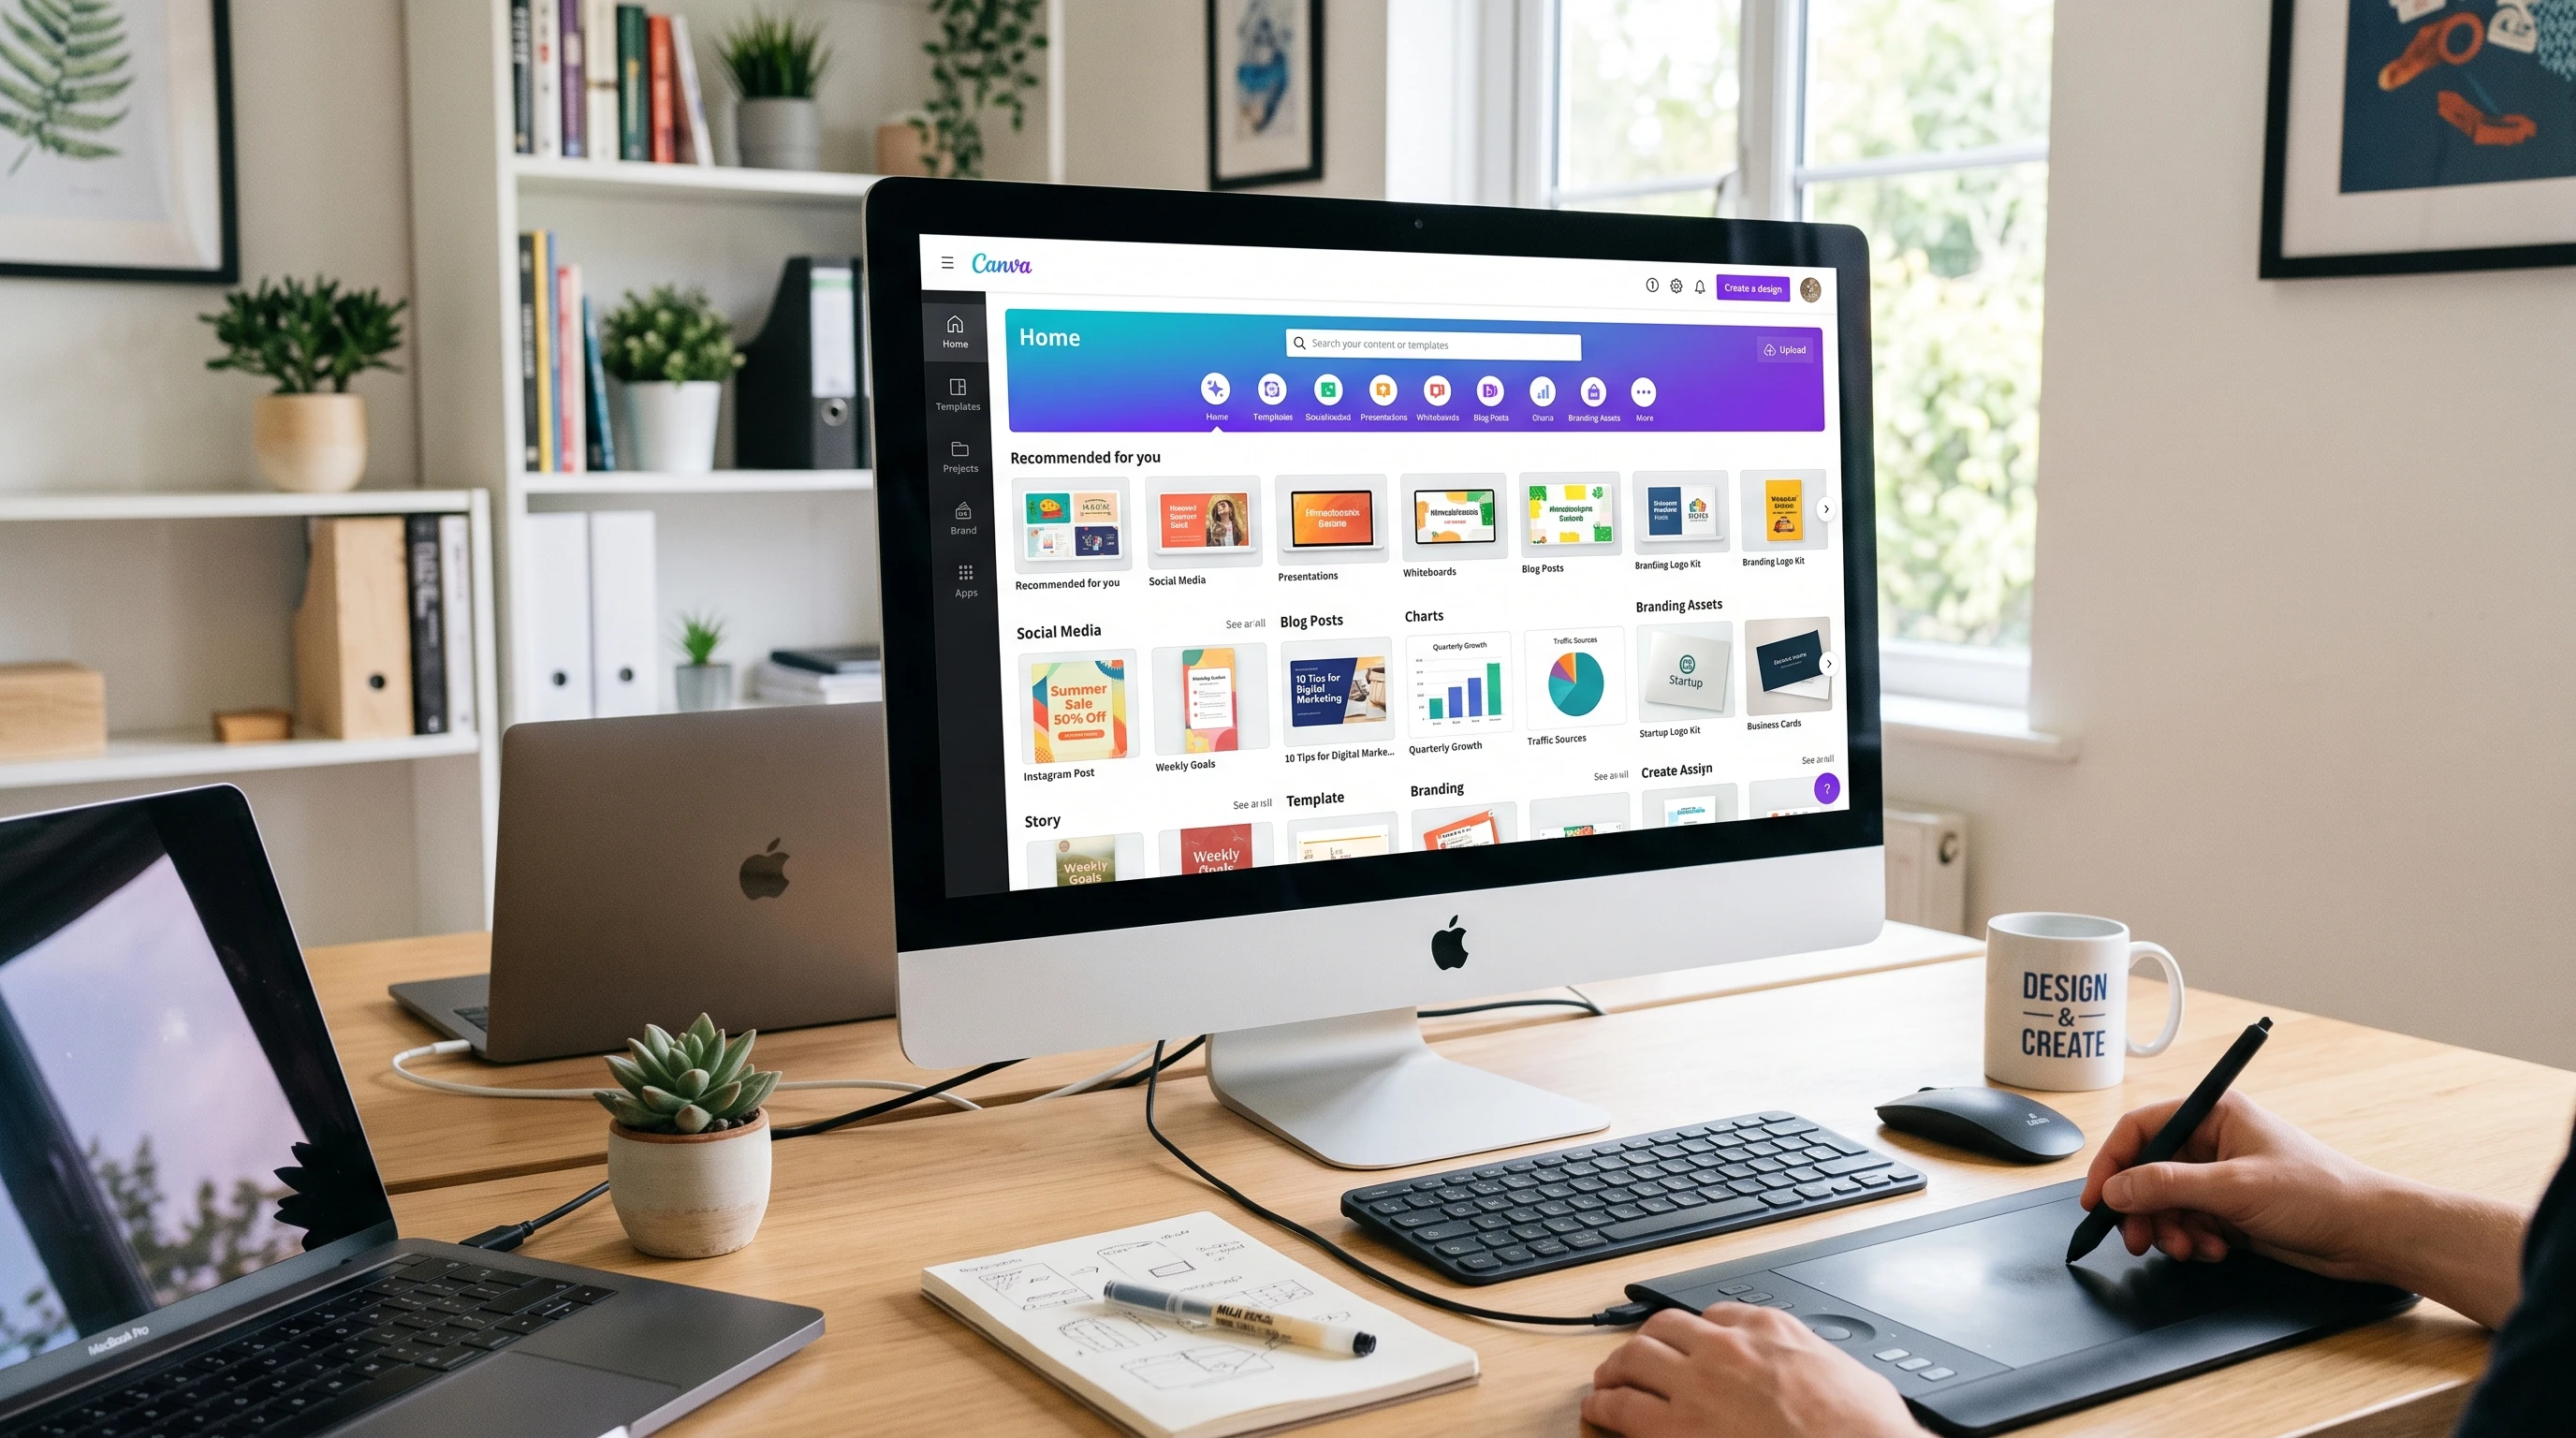
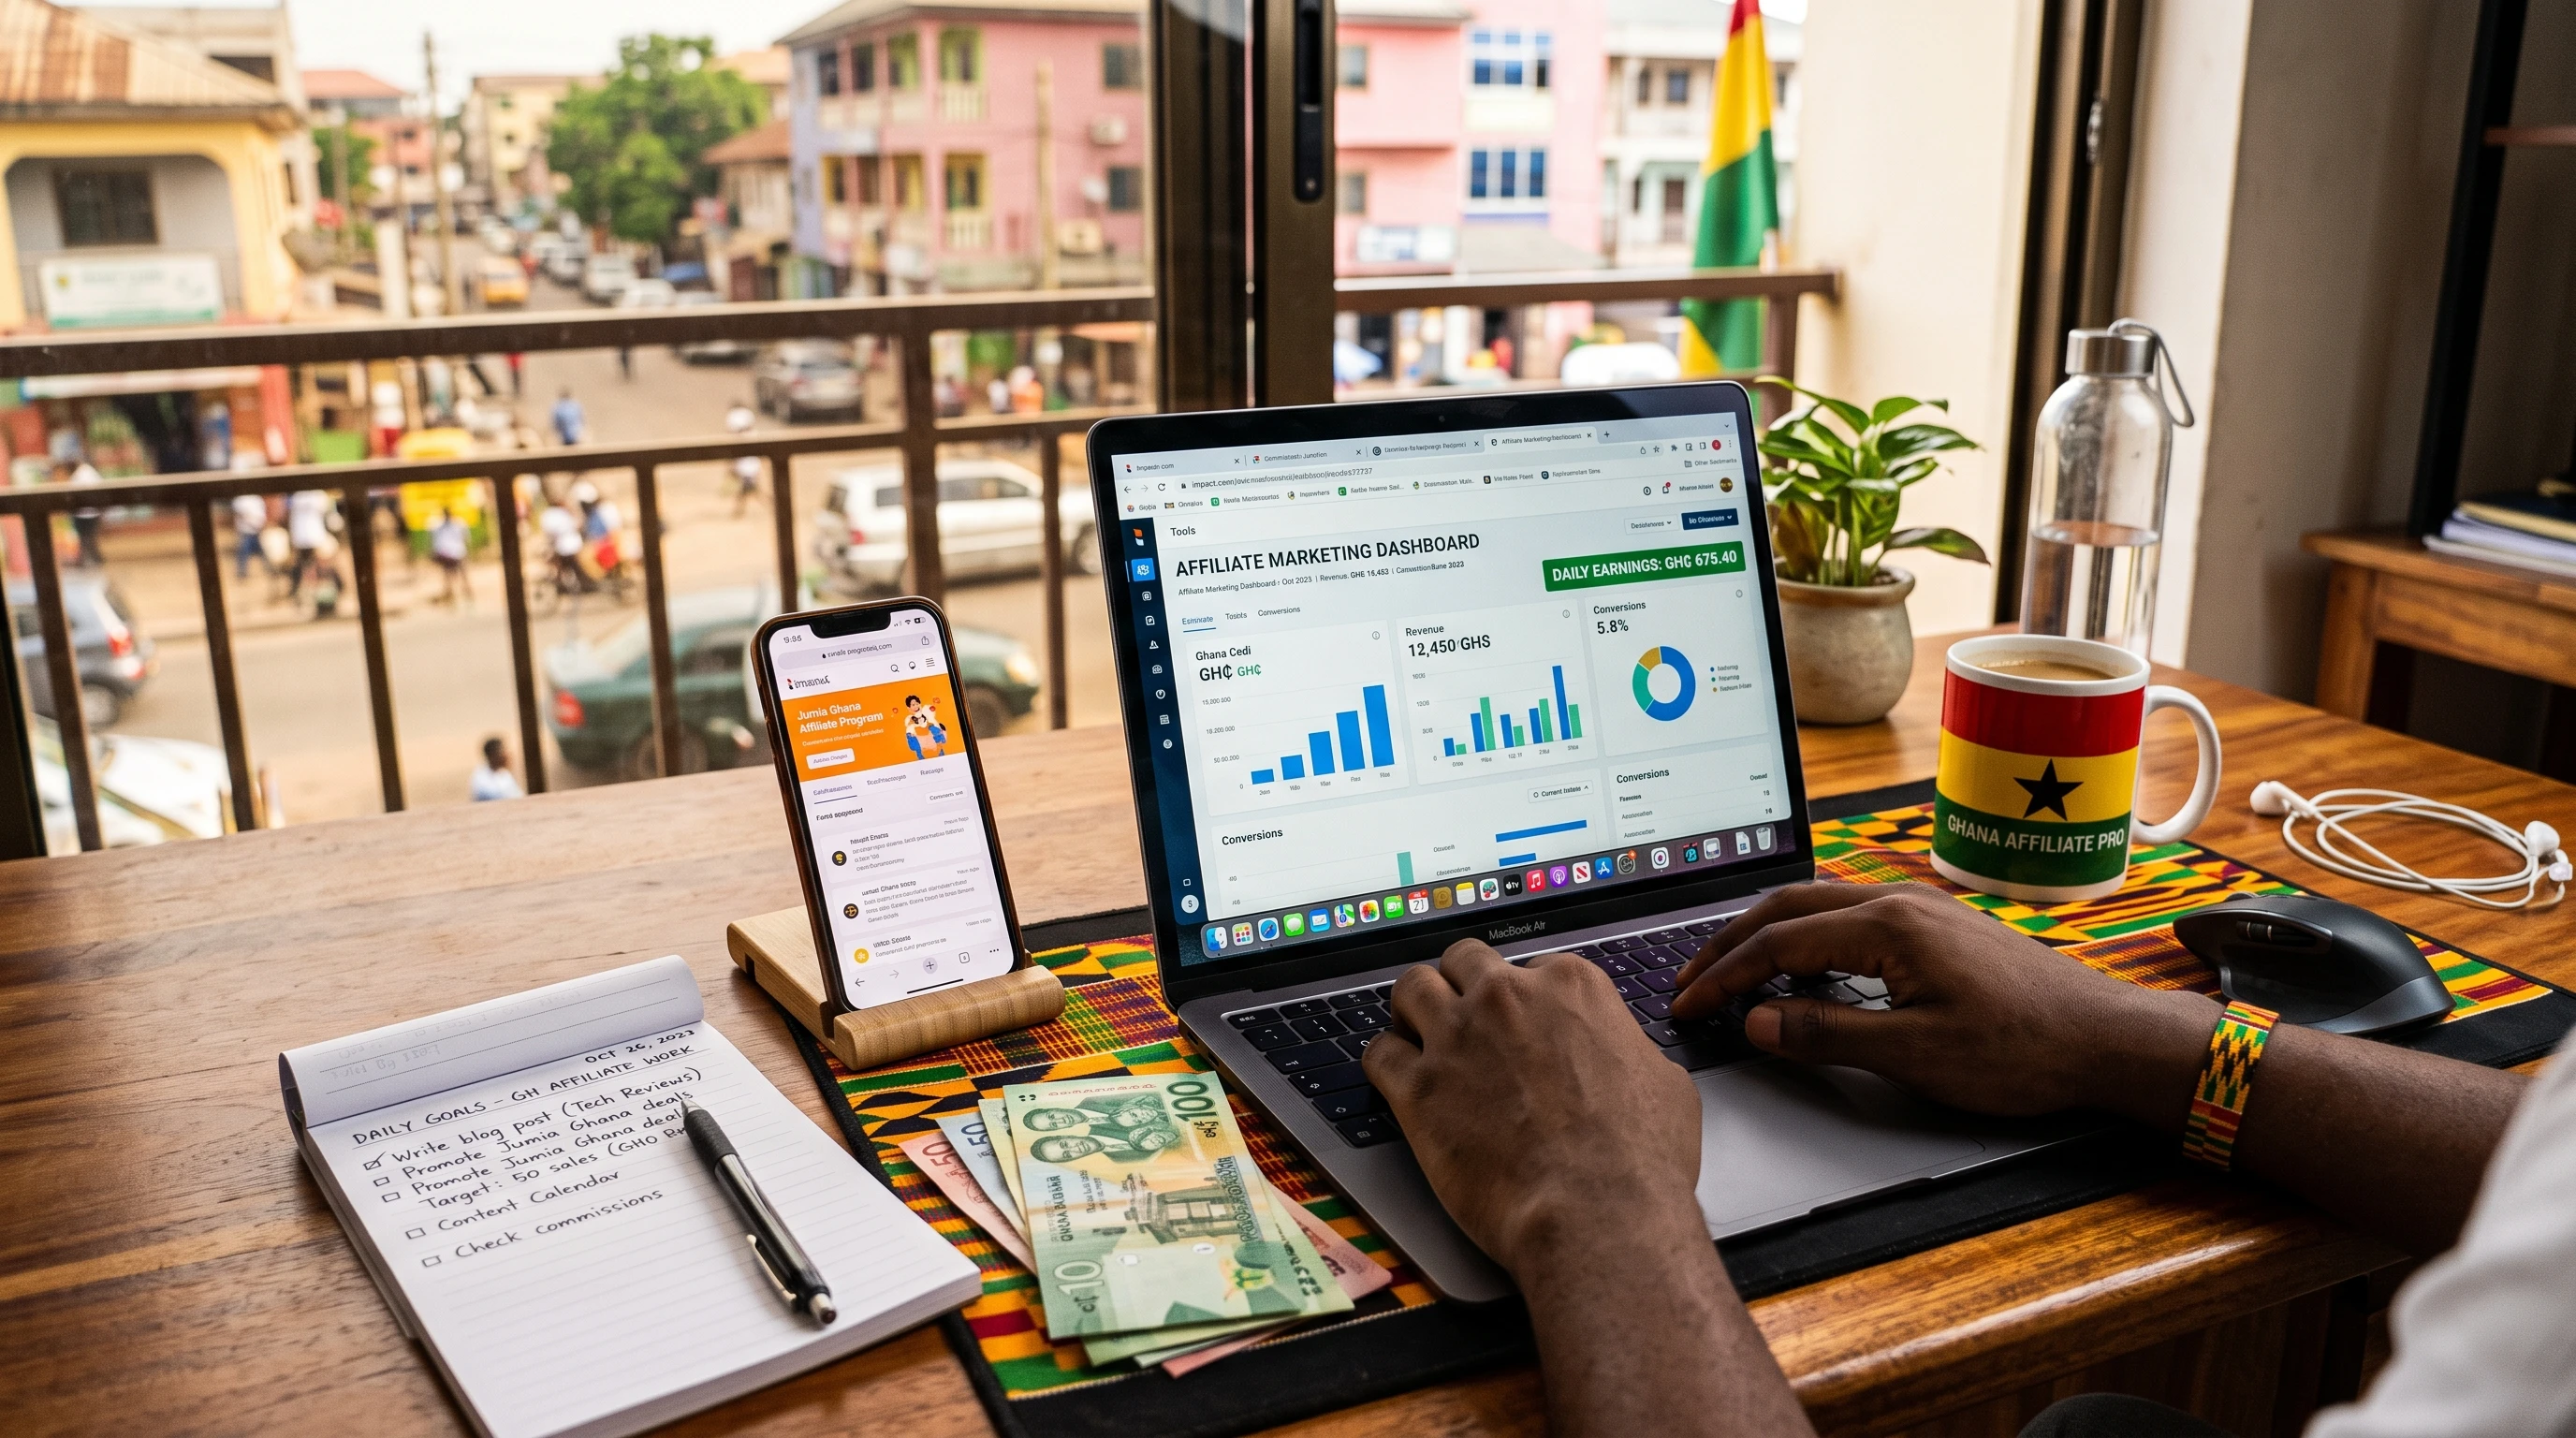 Affiliate marketing has become a pretty solid way for people in Ghana to earn a side income, or even build a whole online business. If you’re new to the idea, affiliate marketing means partnering with companies to promote their products or services. When someone buys through your custom link, you get a commission. It’s a model that’s grown fast thanks to the spread of smartphones, better internet across Ghana, and the power of social media.