 Pinterest stands out as a powerful search engine where people find ideas, inspiration, and solutions. I’ve found that one strong Pin has the potential to keep sending traffic long after it’s been posted, which really separates Pinterest from platforms where posts disappear quickly. If you’re trying to grow your blog, share your business, or promote your products, learning how to make Pins that grab attention and get clicks is a solid skill that pays off.
You might be thinking you need to be a designer to succeed here, but that’s not true. Canva makes it straightforward and fun to design Pins, even if you’re just starting out. In this guide, I’m sharing everything I’ve learned about designing Pinterest graphics that look great, show up in search, and make people want to click. Whether you’re brand new or looking to improve your results, you’ll find steps you can use right away.
Step 1: Understand the Basics of High-Converting Pinterest Pins
If you want your Pins to connect with your audience, it’s smart to know what works on Pinterest. I’ve found that Pins that convert well tend to have clear messaging, strong visuals, and a focus on the viewer’s needs. Understanding the ways Pinterest users interact with content can go a long way in helping your Pin stand out from the crowd. When you see what’s popular and why it works, you can borrow the underlying ideas and rework them for your unique brand or content. This awareness will give you an edge as you brainstorm new designs and fine-tune your approach over time.
What Makes a Pin High-Converting?
- Vertical format for better display in feeds (1000 x 1500 pixels is ideal).
- Bright, high contrast colors that catch the eye and set the right mood for your topic.
- Easy to read fonts with bold text for the headline so your message is clear, even on small screens.
- Prominent branding, like a logo or website name, making it easier for viewers to remember you and find you again.
- A simple call-to-action, such as “Read More” or “Shop Now,” guides users toward your content.
Reviewing popular Pins in your niche helps you spot trends you can use. Take notes on what draws you in as a viewer and consider how you can adapt it for your own content. It also pays to check out Pinterest’s official recommendations and trend reports, which often share what’s performing well at the moment.
Step 2: Set Up Your Canva Account and Workspace
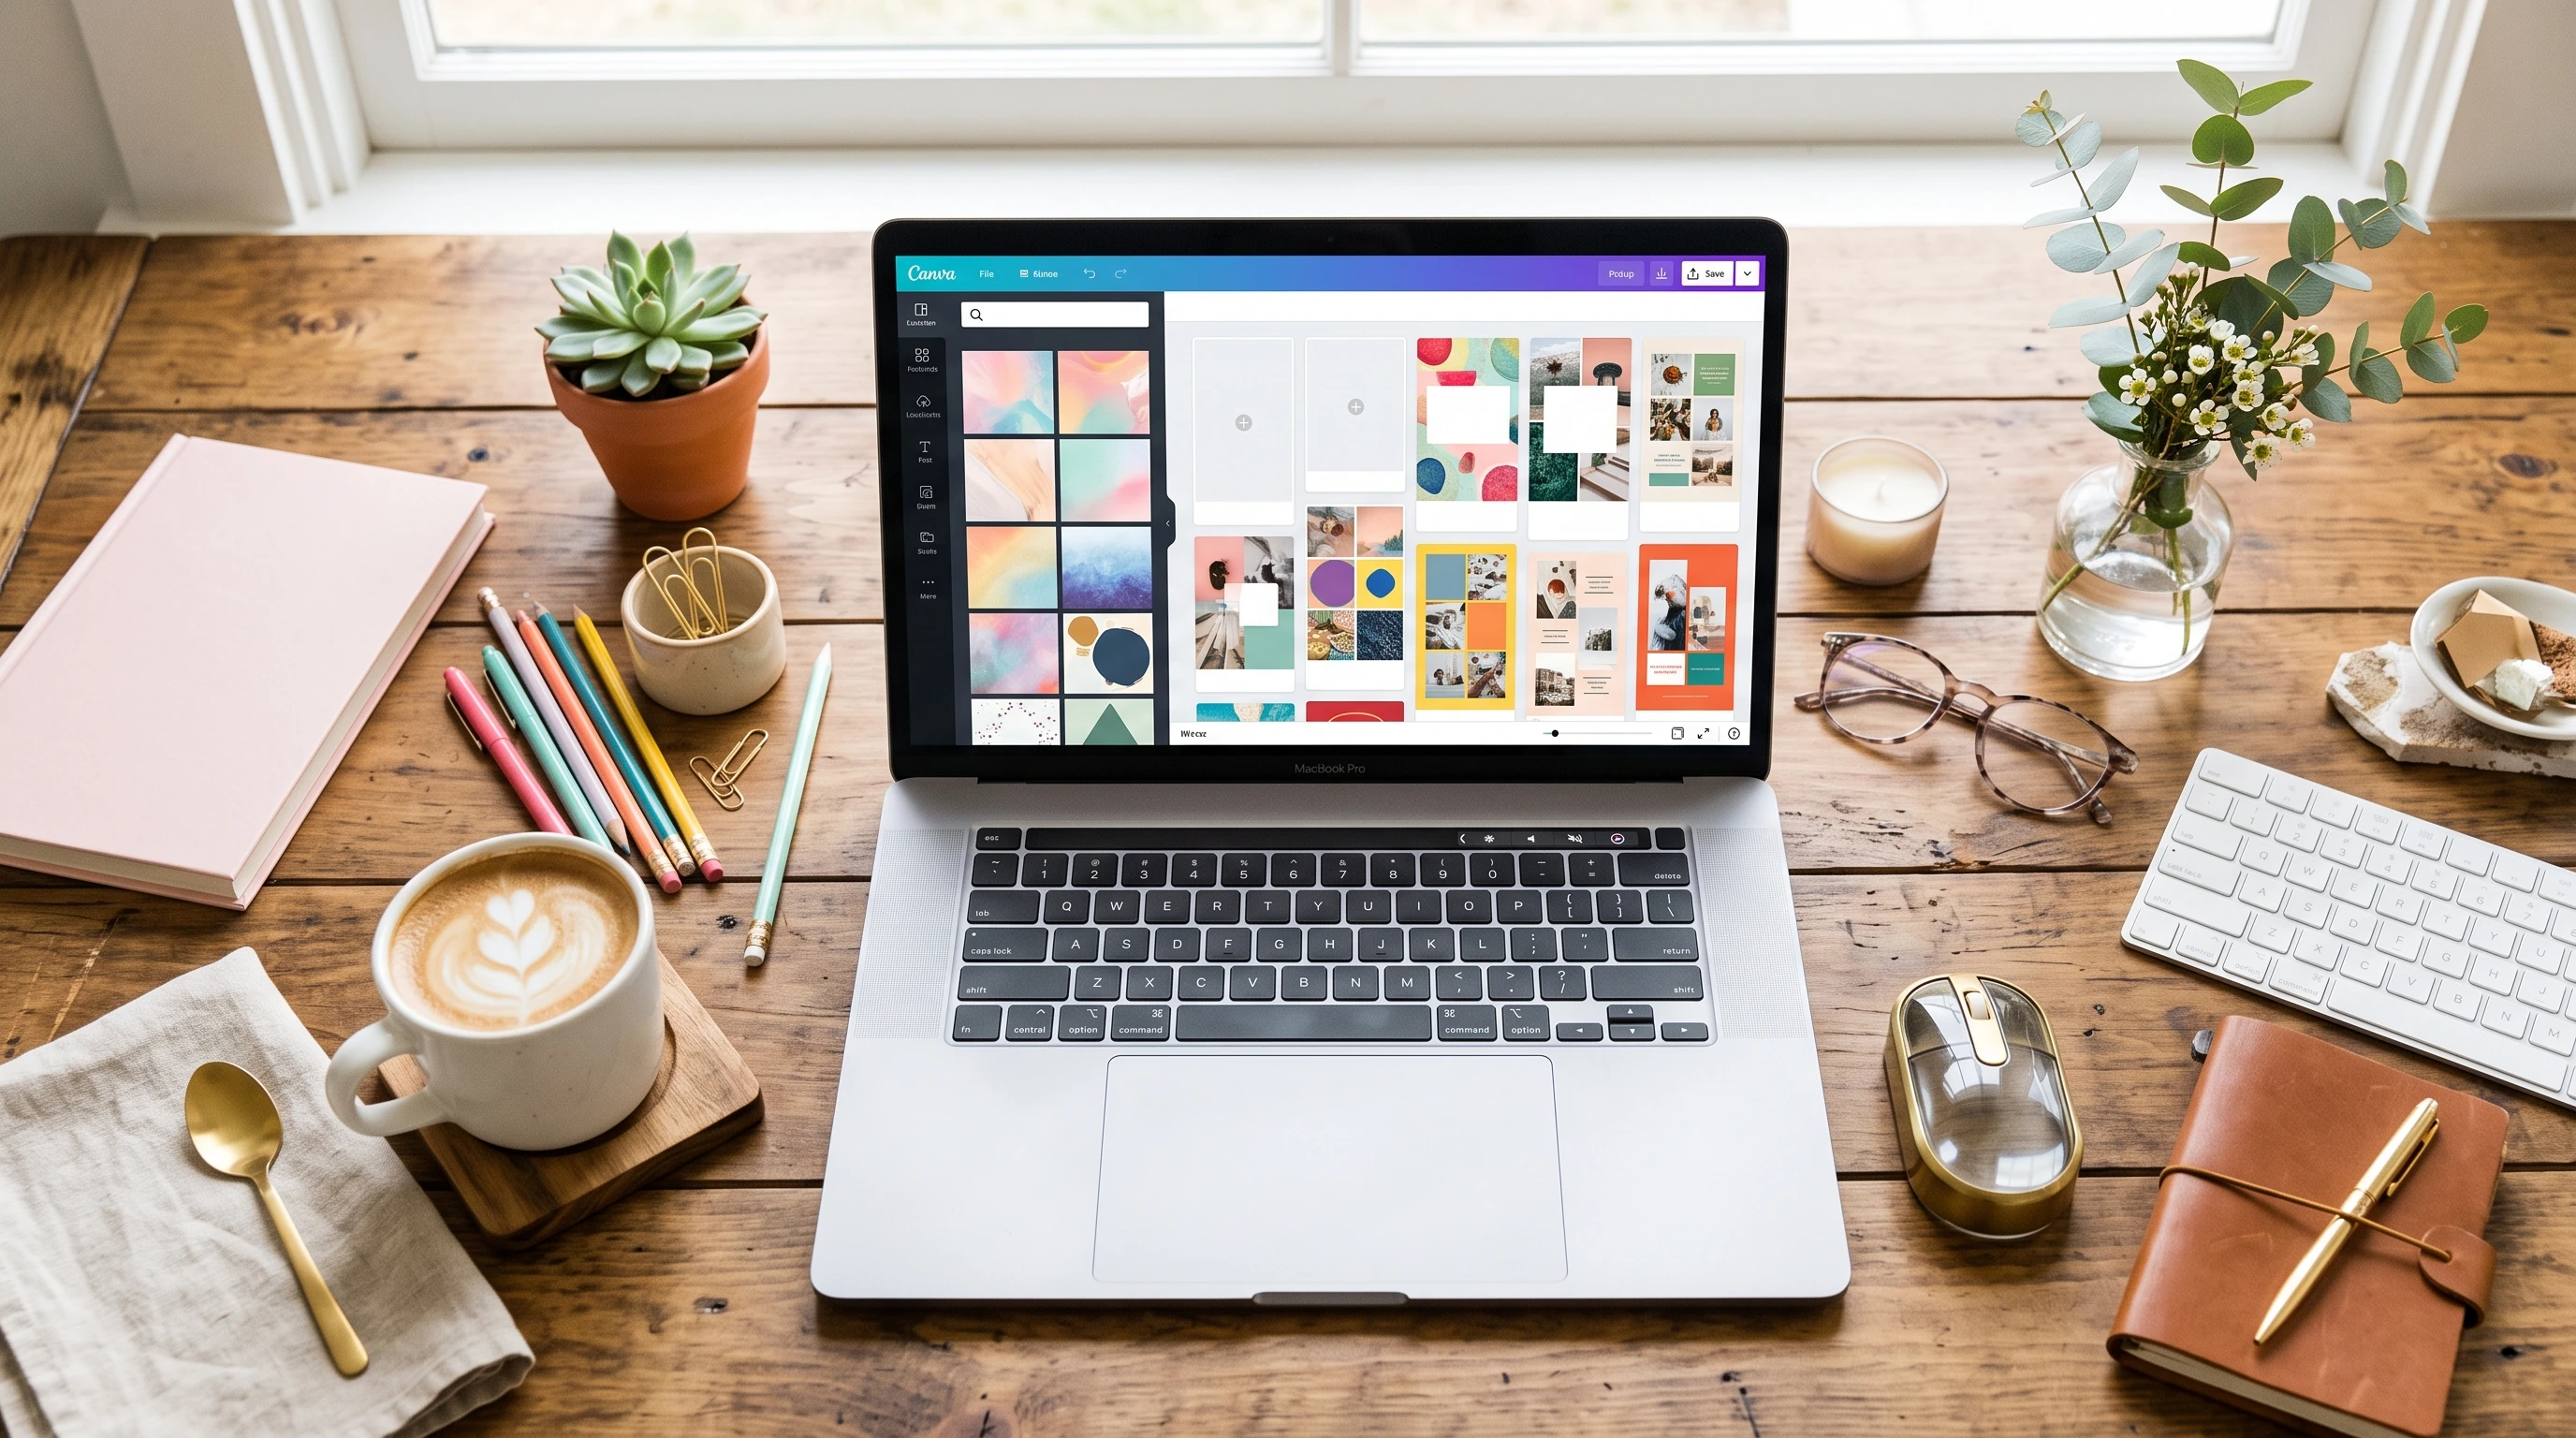
Creating your design workspace in Canva is simple, and you don’t need any special technical knowledge. I just logged in at canva.com, set up a free account, and started designing right away. If you want access to more templates or brand tools, Canva Pro gives you those options, but the free version covers all the basics. The best part is, Canva is a cloud-based tool, so you can design from your browser or mobile device anytime inspiration hits. This flexibility means you’re never tied to a particular computer or need to worry about installing heavy software.
Getting Started:
- Go to canva.com and create a free account. You can sign up using email, Google, or Facebook.
- Search for “Pinterest Pin” in the Canva search bar. This creates a new design with the correct dimensions automatically.
- Browse through their huge collection of templates. You can choose one to customize or make your own from scratch depending on your needs and style.
Canva’s drag and drop editor makes it easy for everyone, regardless of design experience, to put together visually compelling Pins in minutes. As you get used to the dashboard, you’ll find handy features like organizing projects into folders, saving custom colors, and using brand kits if you decide to upgrade later.
Step 3: Choose the Right Template for Your Niche and Goals
Canva offers plenty of Pinterest Pin templates. I like to pick templates that fit my brand’s vibe and make it easy to highlight my message. For example, if I’m promoting a craft tutorial, I aim for something with playful fonts and colorful accents. For a business-related post, I look for a professional, clean design. Picking the template that matches your post’s mood is crucial—an upbeat recipe pin benefits from bright backgrounds and cheerful images, while a finance tip pin looks sharper with minimal layouts and bold text.
Tips for Template Selection:
- Filter templates by category. Search for keywords like “blog,” “recipe,” “business,” or “product.” This helps narrow down the choices to suit your project’s needs.
- Look for templates with space for big headlines, supporting images, and your website URL so important information isn’t crowded.
- Don’t just copy templates. Personalizing colors, fonts, and images gives you a more authentic and memorable Pin that connects with your audience.
Sometimes I start with a blank canvas and upload my own photos or select free stock images within Canva. Mixing template elements with your own style makes your Pins stand out. Plus, swapping out template components or inserting your products, pictures, or graphics can really deliver that personalized touch fans remember.
To spark more ideas, you can also check out Pinterest Trends and see what types of graphics and color palettes are making a splash in your niche. This extra bit of research helps you get inspired and keeps your Pins looking fresh in a sea of content.
Step 4: Craft a Compelling Headline
The headline you place on your Pin does a lot of the heavy lifting. I’ve noticed that Pins with direct, clear headlines tend to perform better. My go-to method is to think about what someone searching on Pinterest wants to accomplish, then address it in a few powerful words right on the graphic. Adding urgency with words like “now,” “today,” or using numbers (“5 Ways to…”) frequently makes a difference in engagement.
Headline Writing Tips:
- Use keywords people are actually searching for. You can find these by typing related words into the Pinterest search bar and checking the suggestions or exploring Pinterest’s own keyword planner tool. Pin descriptions should also reuse these terms in natural ways.
- Make it short and actionable. Examples: “30Minute Recipes,” “Easy DIY Planter,” or “2026 Budget Planner Printables.” Focusing on what the viewer gains works wonders.
- Keep text big enough to read on mobile devices. Test your design by zooming out until it’s about the size of your phone screen, and see if it remains clear.
- Consider using benefit driven language or pointing out a solution, like “Save More Every Month” or “Plan the Perfect Event.” Concrete headlines spark curiosity and clearly promise what readers will get.
Writing three to five headline options before settling on one is a good habit. You might stumble upon a catchy phrase in the process and get more engagement as a result.
Step 5: Design Visually Appealing Pins That Stand Out
Pin design is all about balance. I always try to use high-quality images, a bold focal point, and enough white space to keep things inviting (not cluttered). Contrast and color choice are really important, too. I pick colors that catch the eye, but I keep my brand palette in mind so my Pins feel consistent. Consistency in your style helps you build a recognizable presence—which means viewers begin to associate your visuals with your message.
Canva Features I Use All the Time:
- Photo filters and adjustment tools for brighter, sharper pictures. Tweaking saturation, brightness, or contrast can make product images pop and catch attention in fast moving feeds.
- Elements like shapes or lines to draw attention to headlines, such as putting a colored rectangle behind your main text for strong readability.
- Font combinations for a mix of bold and regular text. Use one standout font for headlines and a simpler font for any supporting details or calls to action.
- Alignment and grouping tools for a tidy, professional look. Lined up images and text lend a clean, high-quality feel to your Pins and make them easier to read.
I like to experiment with a few Pin layouts for the same post. Testing different colors or image placements helps me see what my Pinterest audience connects with the most. This approach lets you A/B test designs and focus on what truly resonates. Over time, you’ll spot patterns in what themes or visuals spark action from your viewers, and you can tailor your future Pins based on those insights.
Remember, white space isn’t just blank space; it draws attention and gives your design breathing room, letting key elements stand out without getting lost in the mix.
Step 6: Optimize for Pinterest SEO and Branding
Design gets people to stop scrolling, but optimization brings long term results. Every Pin I upload has a keyword rich title and description. I include my main keyword as naturally as I can, describing what viewers will get if they click. Putting my logo or website on the graphic also builds recognition over time. By making your branding consistent, you help Pinterest’s algorithm connect your Pin to your broader content, which can give a boost to your reach in searches. The more consistent you are with your keyword usage and branding colors or elements, the more likely your content will build traction over time.
Pinterest Optimization Checklist:
- Add alt text in Canva when exporting your design for better accessibility. This helps users with screen readers, boosts your SEO, and gives context to Pinterest on what your Pin is about.
- Use consistent branding (logo, website, or signature color) on every Pin to establish trust and make your graphics easily recognizable across different boards and feeds.
- Write a clear description on Pinterest with your focus keyword and a call to action. For example, “Download my free 2026 daily planner printable. Click to get yours!” This provides viewers with clear next steps and encourages more interaction.
- Save your Pins to keyword optimized boards as well, since Pinterest uses both board and Pin information when displaying results in search.
Over weeks or months, this systematic approach builds momentum, grows your account’s authority, and keeps your content ranking longer in feeds.
Step 7: Download, Upload, and Track Pin Performance
Once my design is ready, I download it in either PNG or JPG format. I always use high resolution settings to keep the details crisp when Pinterest compresses my image. High-res graphics look more professional and attract more clicks—so don’t skimp here.
Pinning Checklist:
- Download your Pin from Canva.
- Go to Pinterest and click “Create Pin.”
- Upload your design, add your title, description, and destination link (blog, shop, or landing page).
- Choose a relevant board that matches your Pin topic. Pins perform better when placed in the right context, so select a board with keywords that echo your graphic’s purpose.
After posting, I check Pinterest Analytics to see which Pins are getting saves, clicks, or impressions. If I see something performing well, I’ll make similar Pins with a new twist. If a Pin flops, I try a new image or headline the next time. Watching your analytics regularly helps you refine your strategy and catch what’s trending—or notice shifts in audience behavior before they impact your traffic.
Batch design is another trick I use: I create several Pins for a single post at once. This lets me roll out new tests easily and keeps my posting calendar full. Some marketers recommend scheduling Pins throughout the week to stay visible and boost reach without overloading your followers’ feeds all at once.
Common Pin Design Mistakes to Avoid
- Packing too much text or info into a single Pin. Keep it simple and focused—less is usually more when you want clear messaging to pop in the feed.
- Using low quality or blurry images. Canva’s stock photo library or your own high-res shots help a lot here, and it’s better to use fewer, high impact photos than many low-grade ones.
- Forgetting your call to action. Even a small “Click to Learn More” arrow gets results. Subtle arrows or clear button graphics do wonders for guiding attention.
- Not optimizing Pin titles, alt text, or descriptions for keywords. These small steps help search visibility over time. Fill them out fully for every Pin and board, not just a handful.
- Changing design styles too frequently can confuse viewers. Once you find a look that works and feels true to your brand, stick with it for a while to build recognition.
Your Action Plan for High-Converting Pinterest Pins
- Set up a free Canva account and start a new Pinterest Pin project. Make use of all the intuitive tools and save time with built in templates.
- Pick a template that fits your brand and message or create your own layout using original images and on-brand fonts. Remember, personal touches count.
- Write a direct, keyword focused headline and add it to your Pin. Use clear words and benefits to entice clicks.
- Use Canva’s design tools to adjust colors, images, and fonts in line with your brand. Experiment with different looks for more engagement, and don’t be afraid to try something fresh.
- Add your website or logo and export your Pin in high resolution. Double check that everything is readable and sharp even on smaller screens.
- Upload to Pinterest with an SEO friendly title and description, then select a relevant board to maximize reach.
- Check your analytics regularly and tweak your designs based on what works best. Let your results guide your next round of Pins for maximum traffic and engagement.
Making great Pinterest Pins with Canva gets easier with practice. Every Pin you create teaches you something for the next. If you put focus on clear headlines, on brand visuals, and a strong call to action, you’ll be well on your way to driving more traffic and getting real results from Pinterest in 2026. Stick with it, keep learning from your analytics, and don’t hesitate to experiment with new formats or trending topics. Over time, you’ll build a visual presence that brings lasting, steady, and sustainable traffic to your blog or business. The more consistently you approach your Pin design, the more likely you are to see a steady growth in results—and have fun along the way!
Recommended Reading
Continue learning with these Skilswave resources:
- Canva Free vs Canva Pro: Which Should You Choose?
- 25 Canva Tips Every Affiliate Marketer Should Know
- How to Design Professional Lead Magnets Using Canva
- Canva AI Magic Studio: Complete Beginner’s Guide
- Best Canva Templates for Bloggers and Affiliate Marketers
- Your One-Stop Canva Learning Hub
Recommended CTA
Want to create professional Pinterest graphics in minutes?
Explore our Canva tutorials, templates, and design resources to improve your visual content and grow your online presence. If you’re considering Canva Pro, compare its features with the free version to decide which option best suits your goals