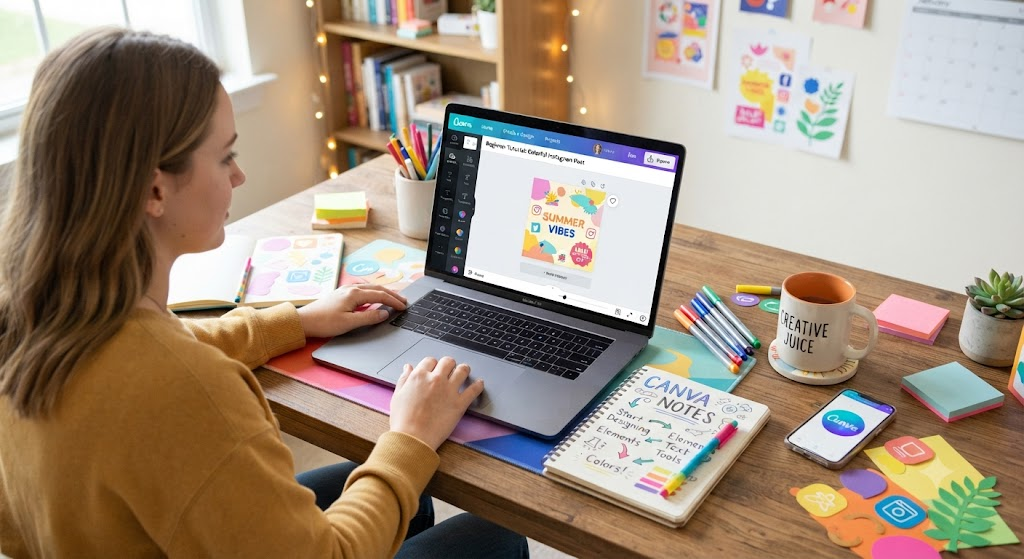
Welcome to the ultimate, beginner-friendly guide to mastering Canva! Whether you are a small business owner, a content creator, a student, or just someone looking to elevate your digital presence, Canva remains the most powerful yet accessible design tool available.
This comprehensive guide is fully updated for 2026, incorporating the latest AI-assisted tools, streamlined interfaces, and practical workflows to help you go from absolute beginner to confident designer in no time.
For official step-by-step walk-throughs, video guides, and community resources, you can always refer directly to the official Canva Tutorials Site.
Table of Contents
- Getting Started: Your Canva Dashboard & Workspace (2026 Edition)
- Tutorial 1: Creating Your First Design from Scratch vs. Templates
- Tutorial 2: Mastering the 2026 AI-Powered Design Tools
- Tutorial 3: Branding & Consistency (Creating Your Brand Kit)
- Tutorial 4: Practical Project — Designing a Social Media Carousel
- Tutorial 5: Collaborating, Exporting, and Publishing Like a Pro
- Next Steps & Resources
1. Getting Started: Your Canva Dashboard & Workspace (2026 Edition)
When you log into Canva, the newly redesigned 2026 home dashboard greets you. It is organized to get you creating immediately.
- The Search Bar (“Magic Search”): Located front and center. You can type natural language prompts here—such as “Create a modern fitness Instagram post” or “Minimalist pitch deck presentation”—and Canva will surface the exact dimensions and top templates.
- The Side Navigation Menu:
- Home: Your main landing page.
- Projects: Where all your saved designs, folders, and uploaded brand assets live.
- Brand: Your central hub for logos, brand colors, and custom fonts.
- Apps & Magic Studio: Access point for Canva’s integrated AI tools.
- The Editor Canvas: Once you open a design, the left sidebar houses your Elements, Text, Uploads, and Brand tools, while the top toolbar handles quick adjustments (cropping, color matching, positioning, and transparency).
Tutorial 1: Creating Your First Design from Scratch vs. Templates
Option A: Starting with a Template (Recommended for Beginners)
Templates are pre-made layouts designed by professionals. They ensure your proportions, typography, and spacing look great right out of the gate.
- Search: Type your project type (e.g., “Event Flyer”) into the search bar.
- Filter: Use filters on the sidebar to sort by style, color, or topic.
- Select & Customize: Click a template to open it in the editor. Double-click any text box to edit the words, click images to replace them, and drag elements to rearrange them.
Option B: Starting from Scratch
If you have a very specific dimension or vision in mind:
- Click Create a design in the top right corner.
- Choose a preset format (e.g., Instagram Post (Square) or Presentation (16:9)) or click Custom size to enter exact pixel/inch dimensions.
- Use the Elements tab to add shapes, lines, graphics, or photos to build your layout layer by layer.
Tutorial 2: Mastering the 2026 AI-Powered Design Tools
Canva’s AI suite (Magic Studio) has evolved significantly. Here are three practical tools every beginner should use:
- Magic Design (Text-to-Design):
- What it does: Generates multi-page presentations or social graphics based entirely on a short text prompt.
- How to use it: Go to the homepage, type what you want to create in the search prompt box, and select one of the AI-generated layout options.
- Magic Write:
- What it does: Canva’s built-in AI copywriter. It helps you draft social captions, blog introductions, presentation bullet points, or email newsletters.
- How to use it: Click the Text tool, add a text box, and click the Magic Write sparkle icon to generate or rewrite text on command.
- Magic Grab & Background Remover:
- What it does: Instantly separates the subject of a photo from its background or lets you click and drag a specific object within a static image as if it were a separate layer.
- How to use it: Select any image on your canvas, go to Edit Photo, and choose Background Remover or Magic Grab.
Tutorial 3: Branding & Consistency (Creating Your Brand Kit)
Consistency builds recognition. Setting up a Brand Kit saves you hours of manual color-picking and font-matching.
- Navigate to the Brand tab on your Canva sidebar.
- Add Your Brand Logos: Upload primary logos, secondary marks, and icon versions.
- Define Your Color Palettes: Input your brand’s hex codes (or use Canva’s color palette generator).
- Set Your Brand Fonts: Assign default fonts for Headings, Subheadings, and Body text.
- Tip: When designing any project, your brand kit will automatically appear in your color and font drop-down menus, allowing you to rebrand an entire template in a single click.
Tutorial 4: Practical Project — Designing a Social Media Carousel
Let’s put theory into practice by creating a multi-page Instagram carousel post.
- Open a Canvas: Search for “Instagram Post (Portrait)” and select a blank or templated option.
- Establish a Grid/Layout: Pick a background color that aligns with your brand. Use the Elements tab to add a subtle shape or frame for visual interest.
- Add Compelling Typography:
- Add a heading for Slide 1 (e.g., “3 Rules for Better Productivity”). Keep it bold and clear.
- Add your handle or website name at the bottom as a persistent footer.
- Duplicate for Consistency: Click the Duplicate Page icon above your canvas to create Slides 2 and 3. This keeps your background and footer identical while allowing you to change the core content.
- Add Visual Elements: Use the Elements tab to search for graphics, arrows (to prompt swiping), or illustrations that complement your text.
Tutorial 5: Collaborating, Exporting, and Publishing Like a Pro
Once your design is polished, it’s time to share it with the world or your team.
- Real-Time Collaboration: Click the Share button in the top right, and enter team member emails. You can assign them permissions to Can view, Can comment, or Can edit.
- Smart Exporting: Click Share > Download.
- Choose PNG or JPG for social media graphics and images.
- Choose PDF Standard or PDF Print for documents, flyers, and reports.
- Choose MP4 Video or GIF if your design contains animated elements or video clips.
- Direct Scheduling: Use Canva’s built-in Content Planner to schedule your designs directly to Instagram, Facebook, LinkedIn, and TikTok without needing a third-party app.
Next Steps & Resources
Practice is the fastest way to build confidence. Try recreating a poster or social graphic you love using Canva’s drag-and-drop tools.
For deep dives into specific features—such as video editing, website building, or print-on-demand setups—visit the official Canva Tutorials Site for free, bite-sized video courses and interactive guides.
Recommended Reading
Continue exploring Canva and content creation with these Skilswave articles:
- A Step-by-Step Canva Designer’s Guide for Beginners (2026 Edition)
- 25 Canva Tips Every Affiliate Marketer Should Know about
- How to Create High-Converting Pinterest Pins with Canva
- How to Design Professional Lead Magnets Using Canva
- Canva Free vs Canva Pro: Which Should You Choose?
- Best Canva Templates for Bloggers and Affiliate Marketers
- Canva AI Magic Studio: Complete Beginner’s Guide
- Your One-Stop Canva Learning Hub
Ready to Unlock Canva’s AI-Powered Workflow?
Start experimenting with one Magic Studio feature at a time. As your confidence grows, combine these tools to create faster, maintain a consistent brand, and produce professional-quality content that supports your blogging, affiliate marketing, and online business goals. Explore more Canva tutorials and practical guides in the Skilswave Canva Resource Center.